Our house extension for increasing the size of our kitchen / dining room. We will be describing the house extension building work, fitting the kitchen, appliances, extension plumbing and electrics, flooring and internal doors.
Sunday, 11 August 2013
Kitchen fitting continues and work tops moved in
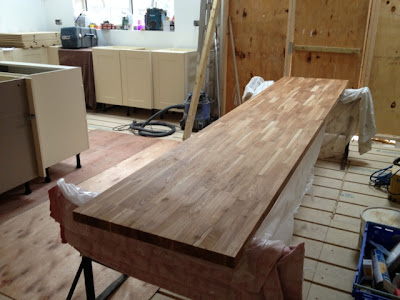
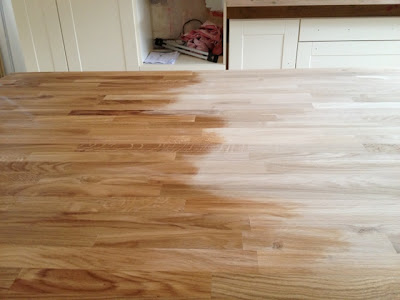
The kitchen fitting progressed some more this weekend and I have started to apply layers of danish oil to the oak work tops. This enriches the appearance of the oak work surface and essentially protects the wood against the moisture in the kitchen.
Friday, 9 August 2013
A busy week! Kitchen taking shape
I will start this week's update by saying a big hello to my third child.
Jacob Patrick Lawrence was born on Wednesday 7th (22:16) weighing 7lbs 3oz - born at home!
Unfortunately we'd had the kitchen work tops delivered on Wednesday morning which, needed to be stored flat and therefore took up 50% of the lounge.
This left just enough space to deliver Jacob safely to an excited family.
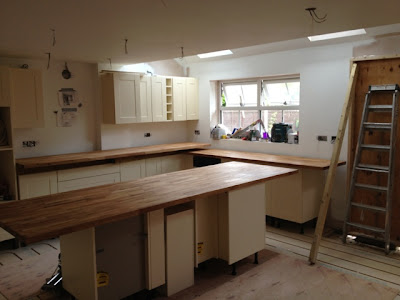
Kitchen plastered and (mostly) painted. The kitchen units are all in the room and on top of the boarded floor.
Monday, 5 August 2013
Planning the electrics and plastering the ceiling
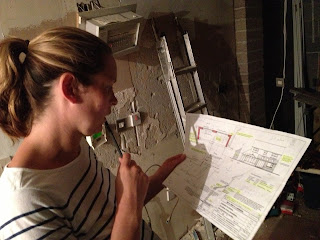
The electrics were carefully planned for the lighting, sockets and kitchen appliances. Below, Anne carefully studies the layout to decide the lighting configuration.
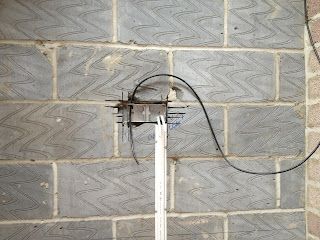
This photo shows a socket and a coaxial cable being fitted into the wall before the plaster boards are fitted. Now is the right time to plan for any sockets, television cabling, lighting to future proof your home.
The photo below shows the position of the oven and the induction hob. The wall has a groove carved for the electric cable and socket to be fitted.
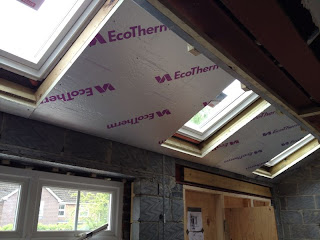
The vaulted ceiling is insulated before being plastered.
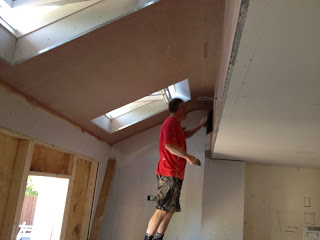
The ceiling and the vaulted ceiling around the velux windows is plastered. Indeed it looks like a masterpiece of smooth plaster. Over the weekend, the plaster is left to dry out.
Wednesday, 31 July 2013
Plumbing, boiler and hot water cylinder installed.
The plumbing has been extended to the house extension area. Also, as we are having under floor heating in the new family room - a new A rated energy efficient boiler is being installed.
The new boiler coupled with a pressurised hot water cylinder should put us in good stead for the future. The pressurised water cylinder means that two enormous tanks of water in the loft can be removed. This can have small house insurance savings but having already had minor water damage from these tanks, we will be glad to see them go.
We are saying goodbye to the old boiler, hot water tank and removing the two large cold water tanks in the loft.
The central heating system was power flushed to remove the residue in the central heating system. This photo (rather uninteresting) shows the power flush equipment which is connected to the radiators inside the house.
To be honest, I'm not even sure why I photographed this.
Tuesday, 30 July 2013
Roof Tiled, Velux Windows Fitted and Watertight
The house extension's roof is now tiled and the scaffolding has been taken down. The Velux windows are fitted to provide sky lights for the kitchen and dining room areas inside.
The roof is insulated and the house extension is watertight which means the focus is now on getting the interior ready.
This photo shows the house extension at the rear of the property. It's starting to take shape now. The next steps are floors, ceilings, electrics, plumbing and plastering. How much will be done by the end of this week?
The New Kitchen is delivered
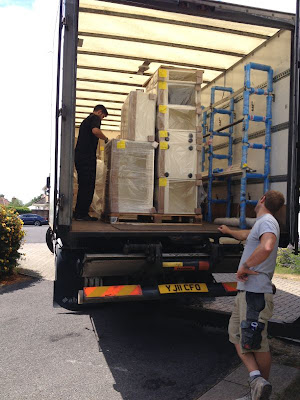
The new kitchen is delivered, unloaded and stored out of the way ready for fitting.
I'm not sure how the driver managed to get the delivery lorry out of this.
The kitchen units and fittings are unloaded.
Friday, 26 July 2013
Knocking through the internal walls
Now the roof is up and water tight, the next stage of the build project is to knock through.This video shows how the builders get through the internal wall between the kitchen and dining room.
This part of the house extension project was not as messy as I expected and the builders did a superb job of minimising the amount of brick dust around the house.
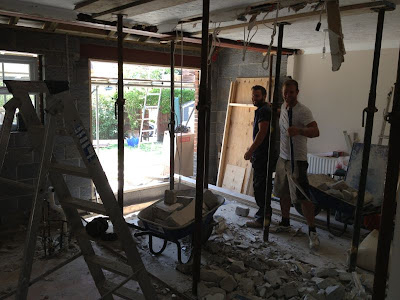
The builders carefully removed the rear wall of the property and the steel beams now support the rear of the property.
This photo shows the rear of the property from the inside. The old exterior wall is knocked through and the room now is opened up into the extended area.
Subscribe to:
Posts (Atom)
