Sunday, 15 September 2013

Garden Lawn Seeded

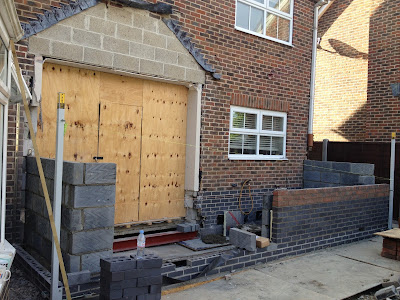
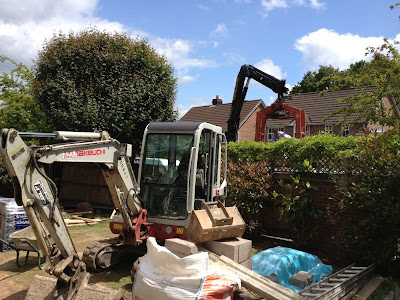
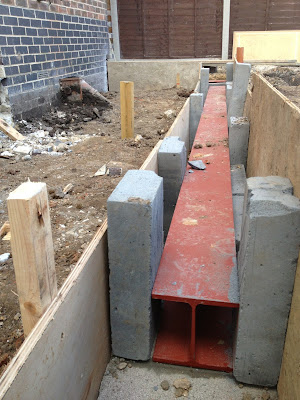
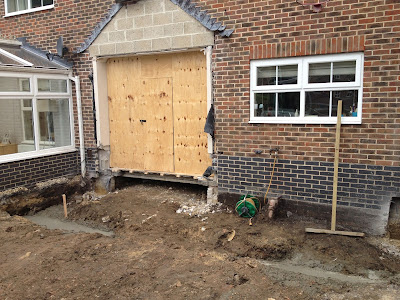
This weekend we seeded the lawn where it had been impacted. The lawn suffered from the house extension foundation digging and also the need to store many building materials and equipment.

Two eager workmen unload the truck of soil in preparation for seeding.


Now you can see here a ton of top soil with grass seed to bring the garden back to some kind of former glory. September now and we are hoping the seeds have a good chance to get established before  winter.


Thursday, 12 September 2013

Patio reshaped and restored and Bi-folding doors fitted

There have been a lot of bits an pieces going inside since the last post. We are hoping it is not long before we can post the finished article and present some detailed pictures.

The bi-folding doors have been installed and working very smoothly indeed.

The latest noteworthy task worth posting about is the completion of the patio. This has been put back together from the natural stone slabs removed prior to digging the foundations. The patio is now reshaped to provide a larger outside seating area.

Patio and Bi-fold doors

Monday, 26 August 2013

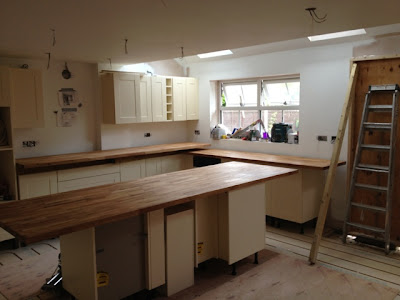
Kitchen appliances, units and worktops installed

As you can see by this photo, the kitchen is not a million miles away from completion. 

Final pieces like skirting board, sockets/switches and doors are now being fitted before the kitchen dining area can be declared 'open'.


Friday, 16 August 2013

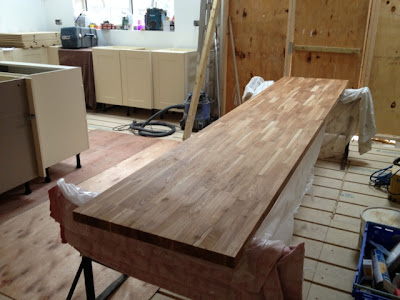
Applying Danish Oil to the Oak Worktops

The flooring has been been fitted and the underfloor heating installed beneath ready for those cold winter months.

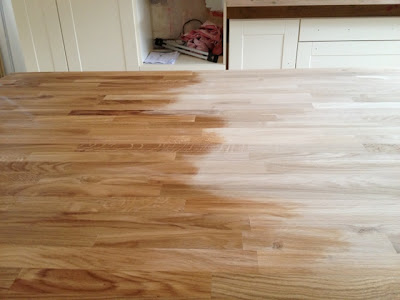
I have applied at least three layers of Danish oil to the solid oak Worktops. Each layer giving increased protection from water and moisture to the oak wood .

Solid oak kitchen worktops


Lights are also in and functional, making it easier to apply the Danish oil in the increasingly darkening evenings. Is summer over already?

Sunday, 11 August 2013

Kitchen fitting continues and work tops moved in

The kitchen fitting progressed some more this weekend and I have started to apply layers of danish oil to the oak work tops. This enriches the appearance of the oak work surface and essentially protects the wood against the moisture in the kitchen.

Solid oak kitchen worktop

Danish oil on a solid oak worktop

Kitchen layout takes shape


Friday, 9 August 2013

A busy week! Kitchen taking shape

I will start this week's update by saying a big hello to my third child.

Jacob Patrick Lawrence was born on Wednesday 7th (22:16) weighing 7lbs 3oz - born at home!

Unfortunately we'd had the kitchen work tops delivered on Wednesday morning which, needed to be stored flat and therefore took up 50% of the lounge. 

This left just enough space to deliver Jacob safely to an excited family.

Kitchen plastered and (mostly) painted. The kitchen units are all in the room and on top of the boarded floor.
kitchen cabinets moved in to the room

Monday, 5 August 2013

Planning the electrics and plastering the ceiling


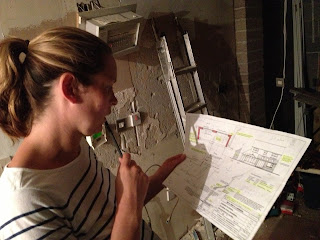
The electrics were carefully planned for the lighting, sockets and kitchen appliances. Below, Anne carefully studies the layout to decide the lighting configuration.

Anne studies the plans

Electric sockets

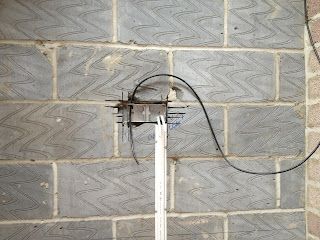
This photo shows a socket and a coaxial cable being fitted into the wall before the plaster boards are fitted. Now is the right time to plan for any sockets, television cabling, lighting to future proof your home.

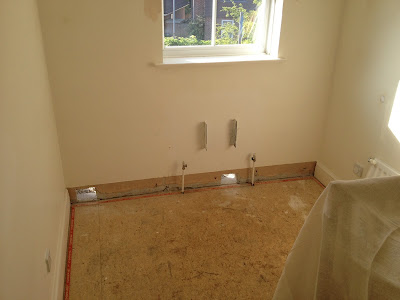
The photo below shows the position of the oven and the induction hob. The wall has a groove carved for the electric cable and socket to be fitted.

Electrics planned for kitchen appliances


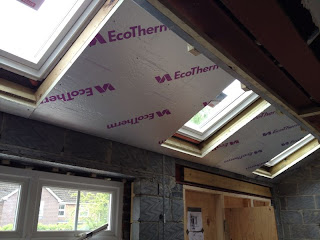
The vaulted ceiling is insulated before being plastered.

Vaulted ceiling insulation

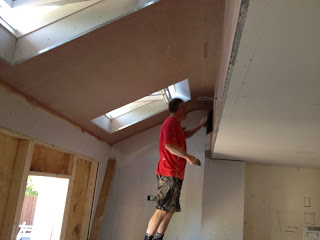
Plastering the ceiling

How to plaster a vaulted ceiling


The ceiling and the vaulted ceiling around the velux windows is plastered. Indeed it looks like a masterpiece of smooth plaster. Over the weekend, the plaster is left to dry out.


Wednesday, 31 July 2013

Plumbing, boiler and hot water cylinder installed.

The plumbing has been extended to the house extension area. Also, as we are having under floor heating in the new family room - a new A rated energy efficient boiler is being installed.

The new boiler coupled with a pressurised hot water cylinder should put us in good stead for the future. The pressurised water cylinder means that two enormous tanks of water in the loft can be removed. This can have small house insurance savings but having already had minor water damage from these tanks, we will be glad to see them go.

We are saying goodbye to the old boiler, hot water tank and removing the two large cold water tanks in the loft.

Hot water tank, boiler removed

The central heating system was power flushed to remove the residue in the central heating system. This photo (rather uninteresting) shows the power flush equipment which is connected to the radiators inside the house.
To be honest, I'm not even sure why I photographed this. 

Power flushing the central heating

Tuesday, 30 July 2013

Roof Tiled, Velux Windows Fitted and Watertight

The house extension's roof is now tiled and the scaffolding has been taken down. The Velux windows are fitted to provide sky lights for the kitchen and dining room areas inside.

The roof is insulated and the house extension is watertight which means the focus is now on getting the interior ready.

Tiled roof with Velux windows

This photo shows the house extension at the rear of the property. It's starting to take shape now. The next steps are floors, ceilings, electrics, plumbing and plastering. How much will be done by the end of this week?


House extension roof tiled and velux windows


The New Kitchen is delivered

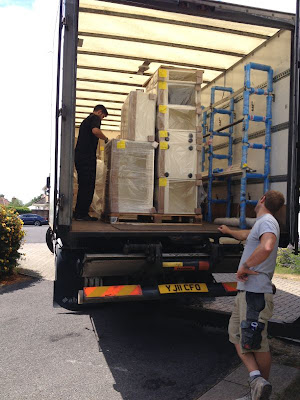
The new kitchen is delivered, unloaded and stored out of the way ready for fitting.

Kitchen delivery arrives

I'm not sure how the driver managed to get the delivery lorry out of this.

Unloading the kitchen

The kitchen units and fittings are unloaded.

Friday, 26 July 2013

Knocking through the internal walls

Now the roof is up and water tight, the next stage of the build project is to knock through.This video shows how the builders get through the internal wall between the kitchen and dining room.


This part of the house extension project was not as messy as I expected and the builders did a superb job of minimising the amount of brick dust around the house.


Internal Walls knocked through

The builders carefully removed the rear wall of the property and the steel beams now support the rear of the property.

Rear of property knocked through

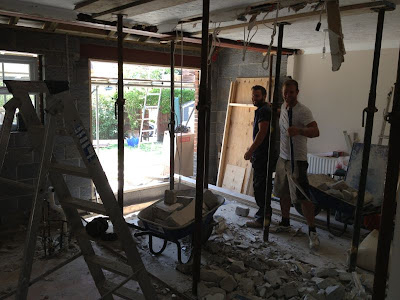
This photo shows the rear of the property from the inside. The old exterior wall is knocked through and the room now is opened up into the extended area.


Thursday, 25 July 2013

House Extension Roof is Built

The house extension roof frame is in built. The extension is starting to come together now with significant changes happening at a faster rate.

Once the roof is up and water tight over the extension, knocking through the existing walls can be done.(exterior and between the kitchen and dining room).

Roof frame built

The three areas mark out where the skylights are going to be located.

Roof is constructed and tiles await fitting


Wednesday, 24 July 2013

Steel beams support the rear of the property


At the end of last week we saw the two longest steel beams taking the load of the rear of the property.


Steel beams take the load


This was the tricky part because the builders had to remove the ceiling and fit the steel beams with as little disruption to the two rooms above.

Below we see how the rooms above were cleared and prepared for the steel beams to be inserted.

First room above the steel beams

Second room above the steel beams

Thursday, 18 July 2013

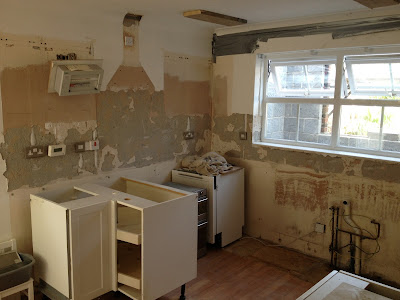
The kitchen is gone

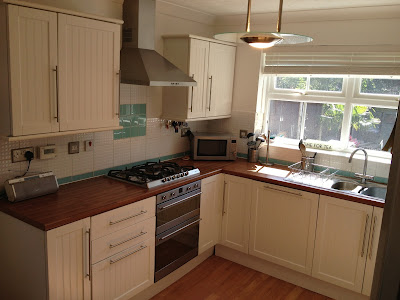
Today we said goodbye to the old kitchen.

From this..


Kitchen before removal

...to this...

Kitchen After removal

A sale on Gumtree and an hour of sweating to help load up 'a man with a van' and the kitchen is now gone.

Tuesday, 16 July 2013

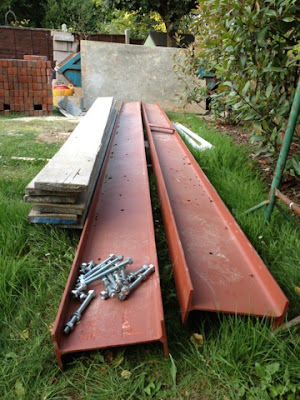
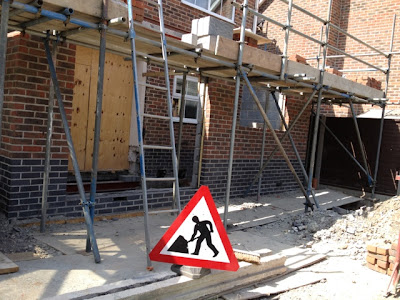
Scaffolding up, steel beams delivered and prepared.

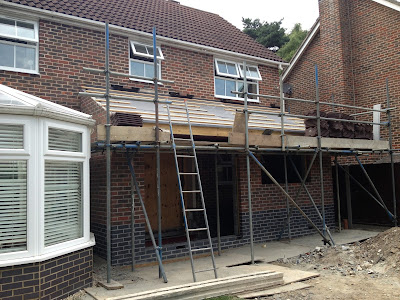
On Friday last week, the scaffolding was put up around the house extension area in order to put the main load bearing steel beams in and subsequently build the roof.

The photos below show the steel beams and how they were raised by a crane up to the scaffolding to prepare them for fitting.

Steel beams

Steel Beams lifted into position

Scaffolding built


Tuesday, 9 July 2013

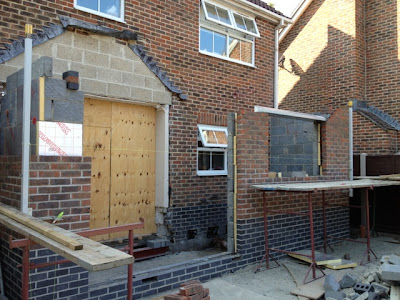
Bricking up progress in the heat wave

The hottest week of the year so far and certainly the hottest spell of weather for quite some time.

House extension brickwork

The brick layers are finding the heat challenging, however they are making good progress and hope to be complete and ready to knock through soon.

The steel beams are now ordered. these steel beams will provide support to the house between the dining room and kitchen and across the rear of the property to the house extension.

Wednesday, 3 July 2013

Breezeblocks and brick work continues

With the end of the week rapidly approaching, the brickwork has resumed today and the house extension is starting to take shape.

House extension brickwork

Monday, 1 July 2013

Brick and Breezeblock deliveries

Building work is due to re-commence on Wednesday.

A few brick deliveries and an empty skip await the building team for a Wednesday start.

Concrete beam delivery

Breezeblock delivery


Tuesday, 25 June 2013

Steel Ring Beam Foundations for the House Extension

Yesterday and today the building team have been focussing on creating a solid steel ring beam foundation structure on which the load of the house extension will rely on.

There has been a lot of concrete filling and drying since my last post.

These photographs clearly show the outline of the house extension by way of the the steel beams laid on the concrete pads.

Steel ring beam foundations

Steel beam for house extension foundation

The house extension foundation should be very strong as they are reinforced with steel beams on 2.4 metre depth concrete pads.

Thursday, 20 June 2013

House Extension Concrete Pad Foundations take shape

The first phase of laying the concrete pad foundations for the house extension is complete.

Over the last two days, the up-sized excavator dug two very deep 2.4 metre trenches to be filled to form two large concrete pads, on which the foundations can continue to be built.

The photos below show the digging of the 2.4 metre deep foundation trenches and the trenches partially filled with concrete.
Digging deep house foundation trenches

Partially filled foundation concrete pad

Concrete Pad Foundations

The weather has been fair for Wednesday and Thursday this week already allowing good progress with Friday to go.


Wednesday, 19 June 2013

Digging to the recommended depth for concrete pad foundations.

The foundation plans now require two large 2.4 metre holes to be dug which will contain two large concrete pad foundation pads to support the weight of the rear of the house.

The concrete pads will support a steel ring beam foundation on top of which the load of the house extension will rest.

The diagram here shows how the house extension requires a much deeper (2.4 metre) concrete pad foundation depth. The diagram is a cross section of the rear of the house.
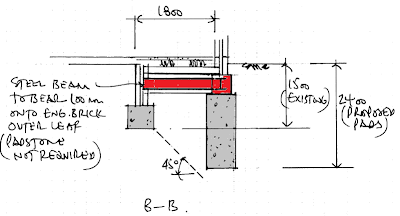
Steel Ring Beam Foundations
(Right side is rear wall of the property).


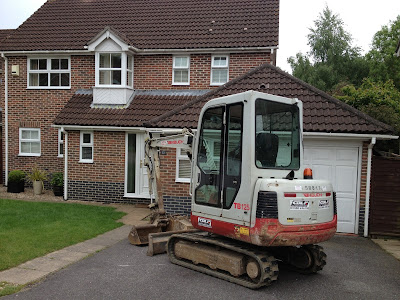
It is easier for the builders to dig the holes for the concrete pad foundations by a slightly larger digger. So today's main task is to have the smaller digger collected and a larger one would be delivered the following day.

Small digger is removed

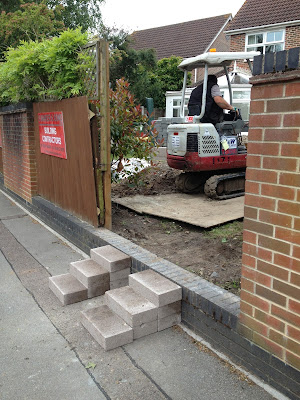
This is the moment when the guy collecting the digger almost 'rolled' the digger when dropping down some improvised steps made of breezeblocks. There was a moment when the poor man's face was pure fear but fair play to him, he managed it.

He didn't fancy using the same approach to attempt to get the larger digger into the garden so he just delivered it here instead.

Large Digger arrives


Friday, 14 June 2013

Foundation exploration confirms type of foundations needed

It's the end of the first week of the house extension build (demolition).

We hit a minor problem with how the house foundations need to be put down for the extension.

As the extension will bear the weight of the side of the house, the building regulations for the type of foundations required are crucial.

Long story short, the structural engineer has to specify the type of foundations needed which then require approval by the local (Poole borough council) building control department.

This has caused a delay of several days of work but is a common scenario. Until the foundations have been excavated and explored - the type of foundations cannot be determined.

Investigating House Foundations

These photos show the hole used to examine the existing foundations of the house.

More house foundation exploration
This photo shows that water is now below the depth at which it is able to soak through permeable earth. At the depth the water is now, the ground does not allow it to soak away.

Wednesday, 12 June 2013

Excavation, drainage and foundation exploration

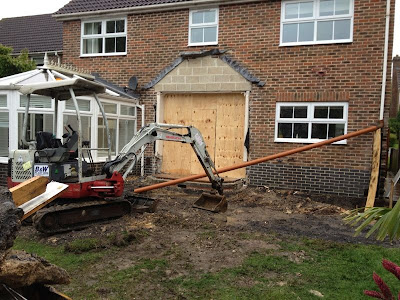
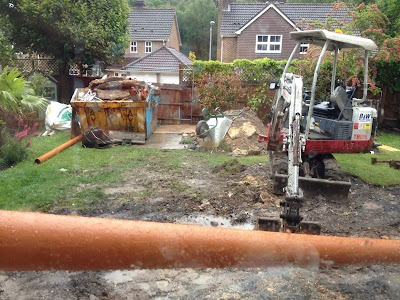
To the excitement of the children, a small excavator arrived to begin excavation and exploration of our house foundations.

The builders and building inspector need to understand the depth to which the extension foundations need to be dug.

Now that the existing house foundations can be examined, the building inspector will arrive and determine the depth to which the house extension foundations need to be dug. This also takes into consideration the type of trees within proximity of where the foundations will be dug.

If certain types of trees are within x metres, because they can take in excess of 100 litres out of the ground per day, this directly affects the type of foundations required on a house extension or new build.

This should be possible, if it stops raining! I think it's rained all day here today.

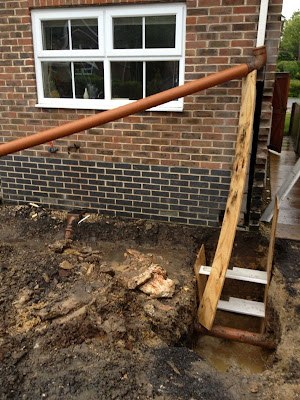
The pictures below show the house foundation exploration and a raised 'soak away' drainage pipe.


Exploration of house foundations

Hole to investigate house foundation depth

The garden having been dug for the foundation exploration